Langfuse SDKs
Langfuse offers two SDKs:
- Python
- JS/TS
- Other Languages via OpenTelemetry
The Langfuse SDKs are the recommended way to create custom observations and traces and use the Langfuse prompt-management and evaluation features.
Key benefits
- Based on OpenTelemetry, so you can use any OTEL-based instrumentation library for your LLM stack.
- Fully async requests, meaning Langfuse adds almost no latency.
- Interoperable with Langfuse native integrations.
- Accurate latency tracking via synchronous timestamps.
- IDs available for downstream use.
- Great DX when nesting observations.
- Cannot break your application: SDK errors are caught and logged.
This section documents tracing related features of the Langfuse SDK. To use the Langfuse SDK for prompt management and evaluation, visit their respective documentation.
Requirements for self-hosted Langfuse
If you are self-hosting Langfuse, the Python SDK v3 requires Langfuse platform version ≥ 3.63.0 and the TypeScript SDK v4 requires Langfuse platform version ≥ 3.95.0 for all features to work correctly.
Legacy documentation
Quickstart
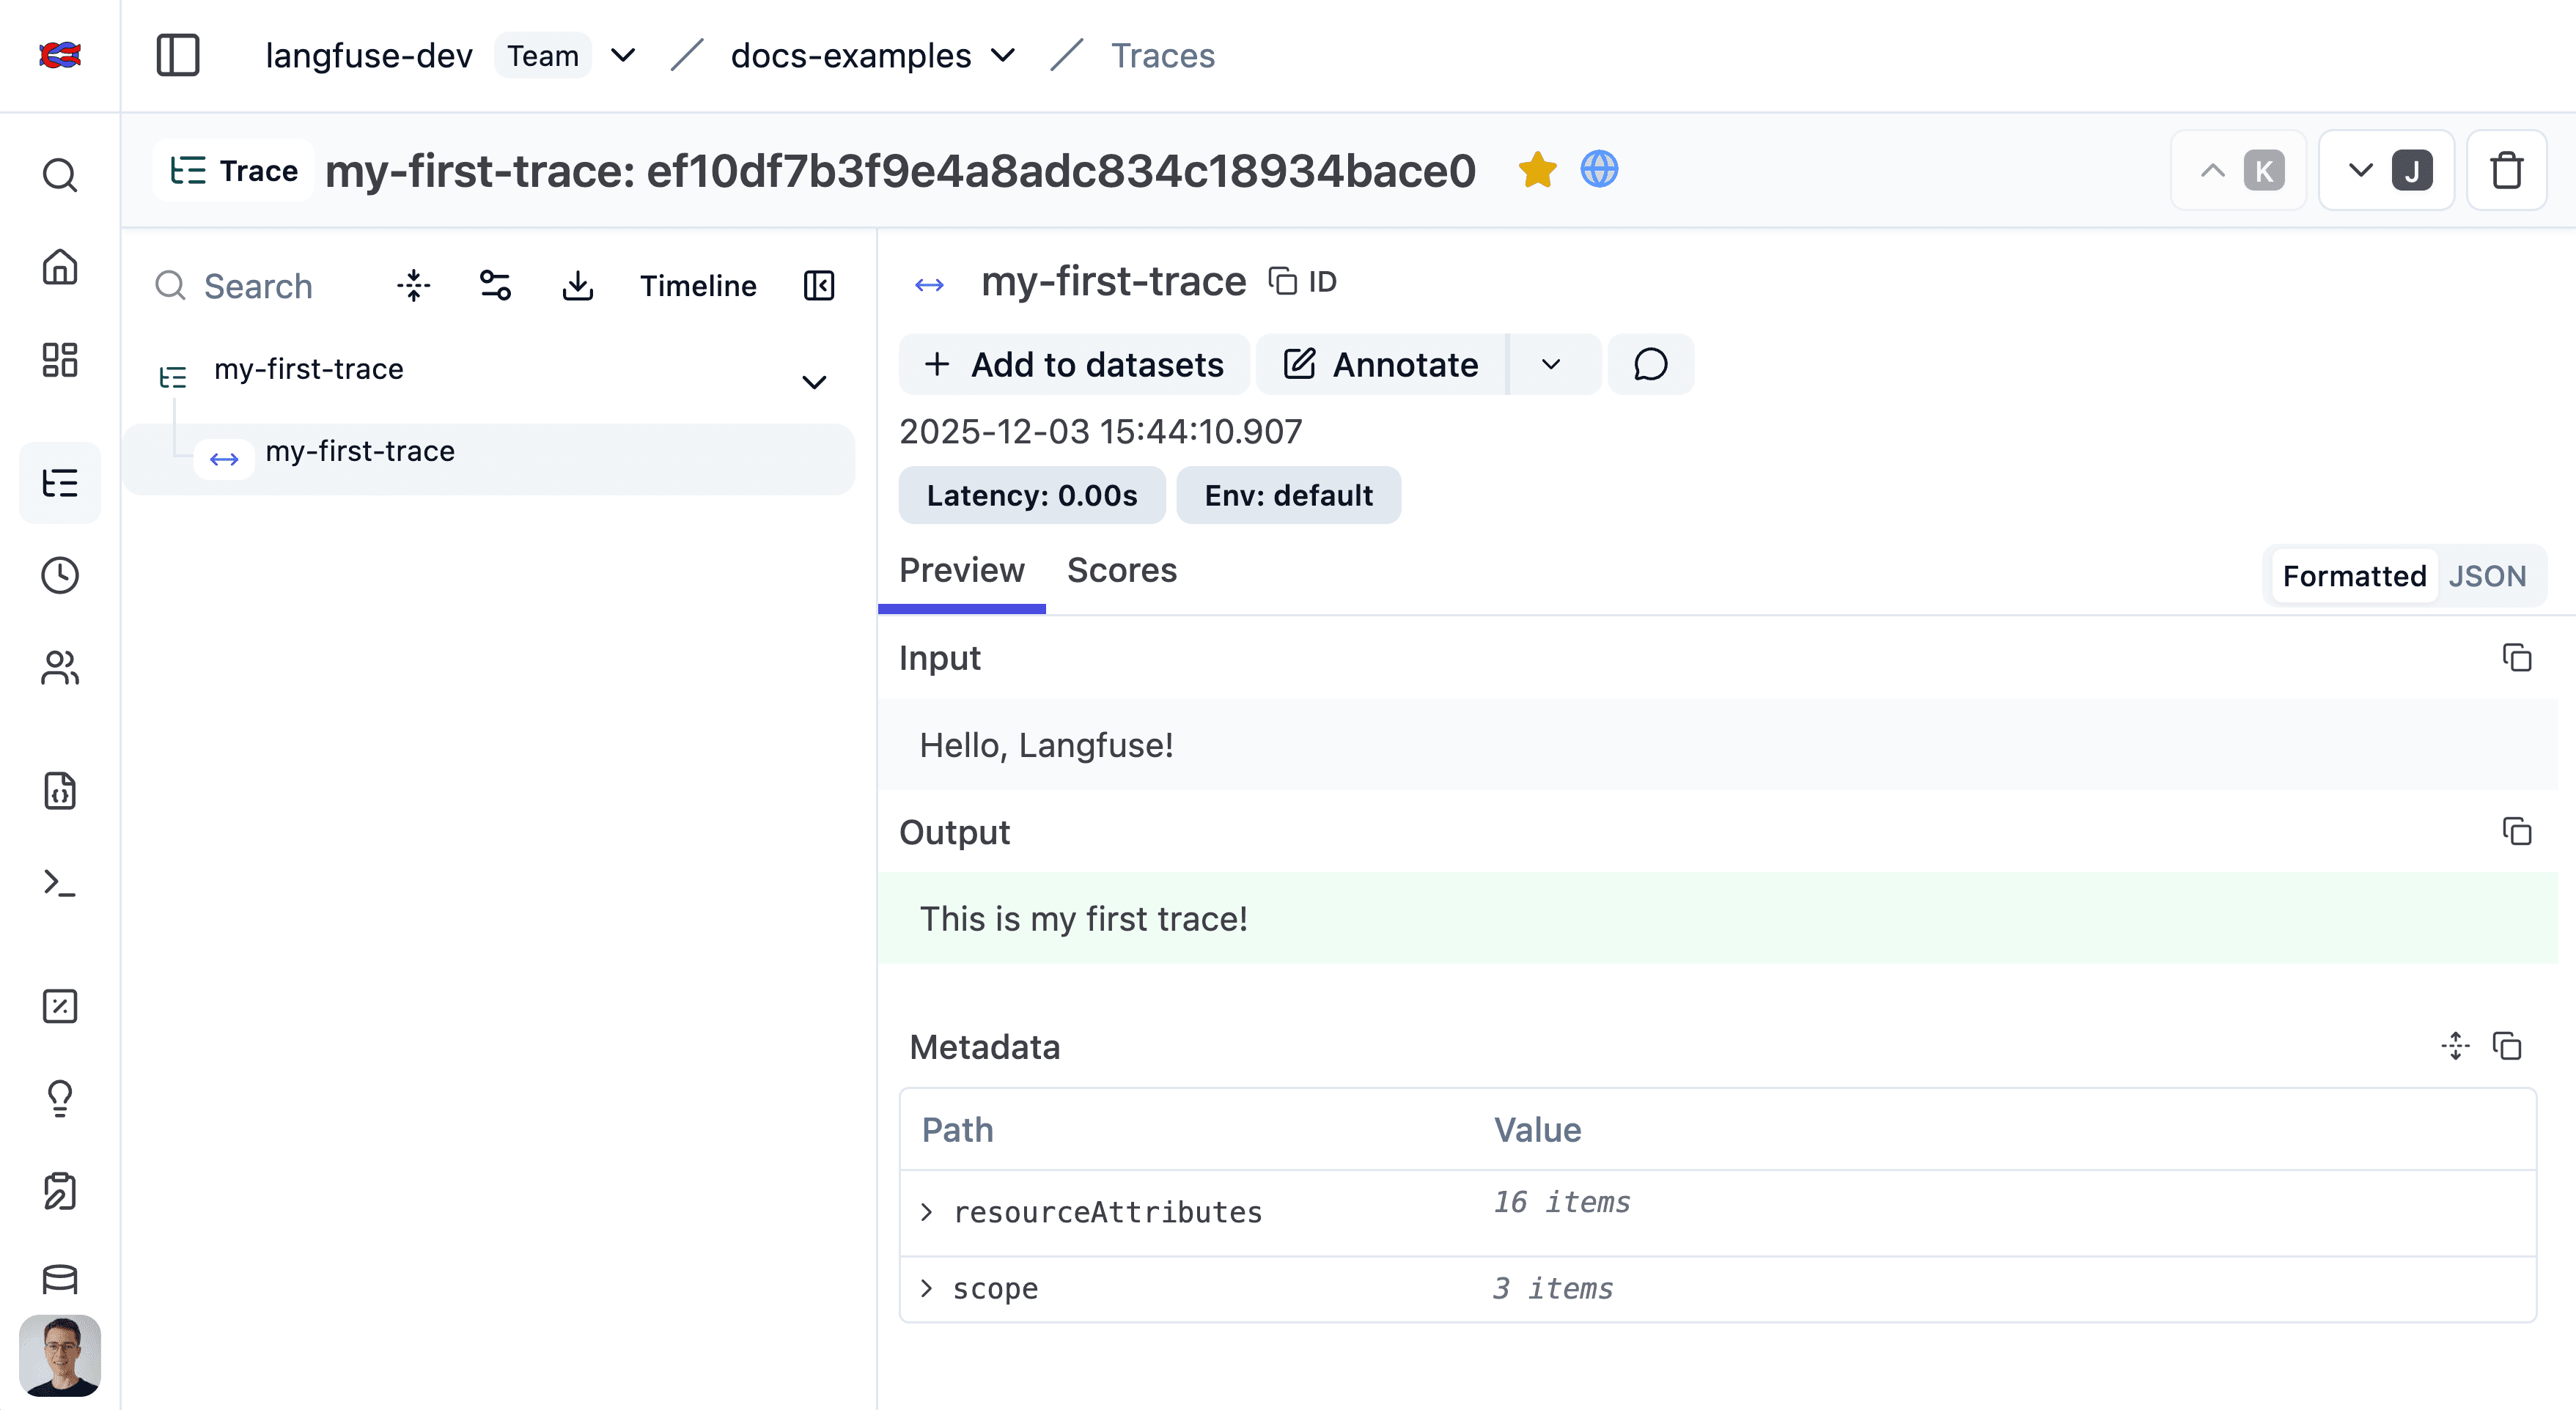
Follow the quickstart guide to get the first trace into Langfuse. See the setup section for more details.
1. Install package:
pip install langfuse2. Add credentials:
LANGFUSE_SECRET_KEY = "sk-lf-..."
LANGFUSE_PUBLIC_KEY = "pk-lf-..."
LANGFUSE_BASE_URL = "https://cloud.langfuse.com" # 🇪🇺 EU region
# LANGFUSE_BASE_URL = "https://us.cloud.langfuse.com" # 🇺🇸 US region
3. Instrument your application:
Instrumentation means adding code that records what’s happening in your application so it can be sent to Langfuse. There are three main ways of instrumenting your code with the Python SDK.
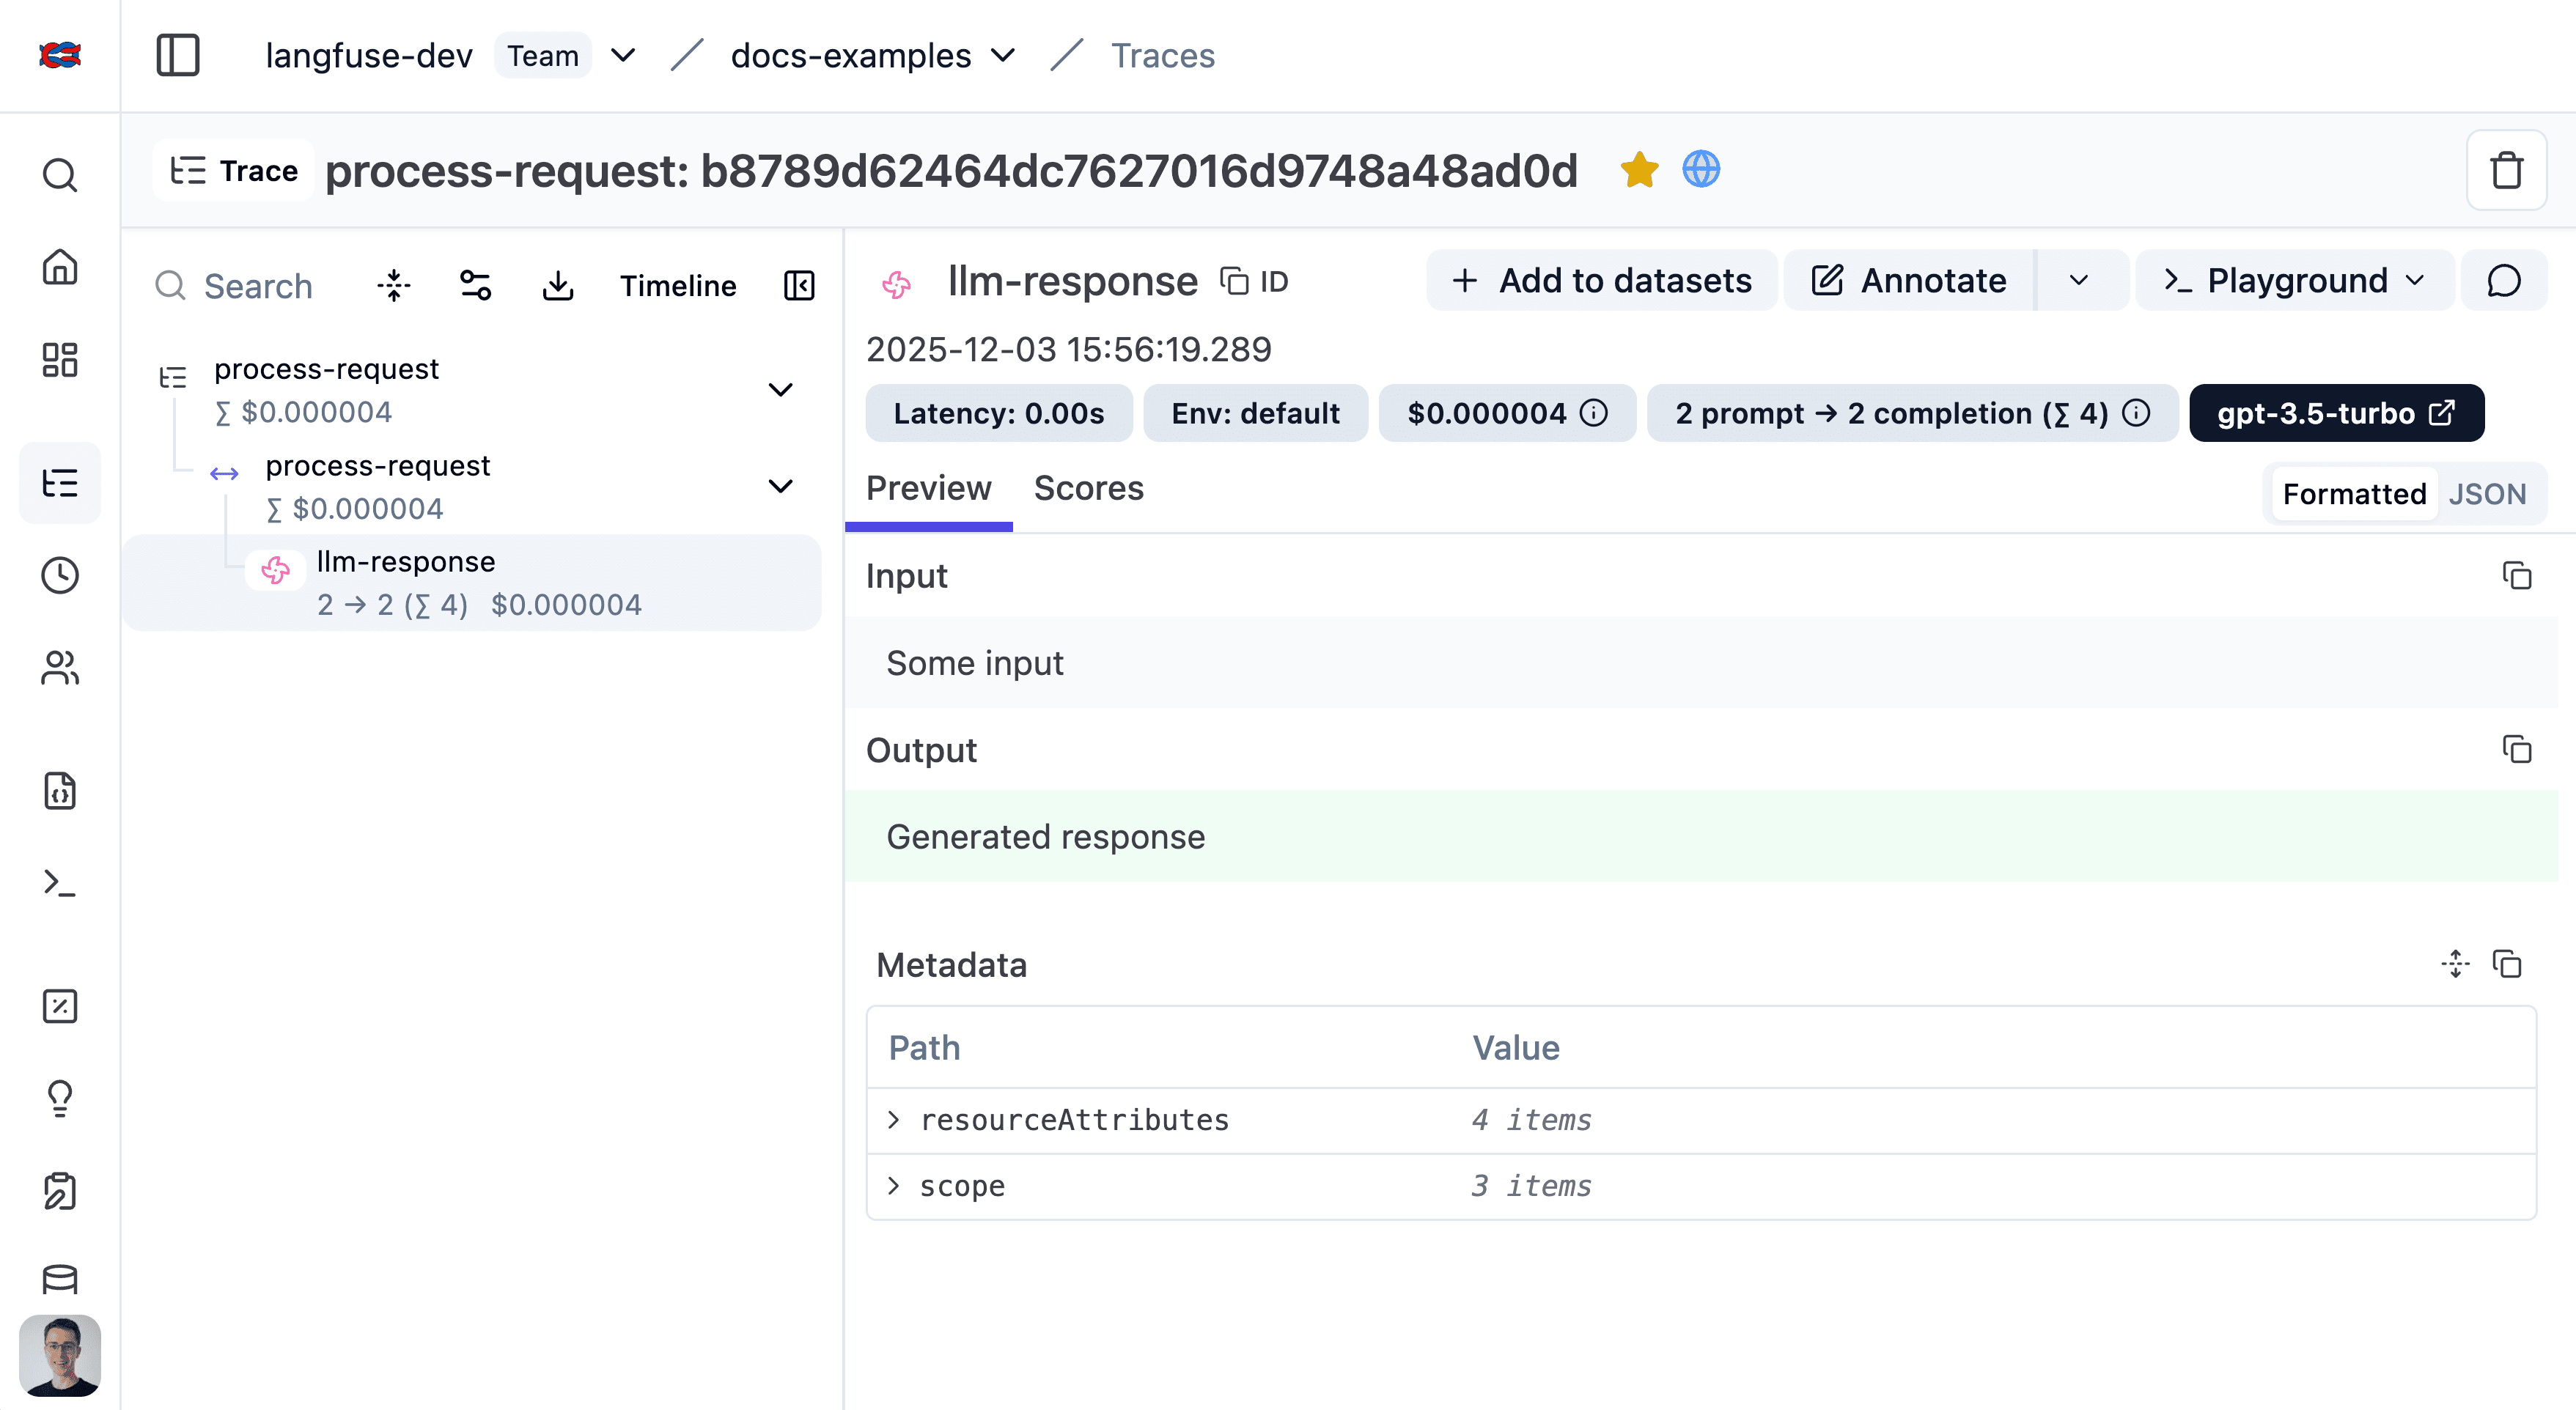
In this example we will use the context manager. You can also use the decorator or create manual observations.
from langfuse import get_client

langfuse = get_client()

# Create a span using a context manager
with langfuse.start_as_current_observation(as_type="span", name="process-request") as span:
    # Your processing logic here
    span.update(output="Processing complete")

    # Create a nested generation for an LLM call
    with langfuse.start_as_current_observation(as_type="generation", name="llm-response", model="gpt-3.5-turbo") as generation:
        # Your LLM call logic here
        generation.update(output="Generated response")

# All spans are automatically closed when exiting their context blocks


# Flush events in short-lived applications
langfuse.flush()
When should I call langfuse.flush()?
4. Run your application and see the trace in Langfuse:

See the trace in Langfuse.
Setup
This section covers all detail of setting up the Langfuse SDKs. Follow the Quickstart guide to create your first trace.
Install the SDK
Pip install the Langfuse Python SDK.
pip install langfuseConfigure credentials
To authenticate with Langfuse, add your Langfuse credentials as environment variables. You can get your credentials by signing up for a free Langfuse Cloud account or by self-hosting Langfuse.
If you are self-hosting Langfuse or using a data region other than the default (EU, https://cloud.langfuse.com), ensure you configure the host argument or the LANGFUSE_BASE_URL environment variable.
You can also pass the credentials directly to the constructor.
LANGFUSE_SECRET_KEY = "sk-lf-..."
LANGFUSE_PUBLIC_KEY = "pk-lf-..."
LANGFUSE_BASE_URL = "https://cloud.langfuse.com" # 🇪🇺 EU region
# LANGFUSE_BASE_URL = "https://us.cloud.langfuse.com" # 🇺🇸 US regionInitialize OpenTelemetry (JS/TS only)
The Python SDK automatically sets up OpenTelemetry when initializing the client.
Client Setup
Initialize the Langfuse client with get_client() to interact with Langfuse. It will automatically use the environment variables you set above.
from langfuse import get_client

langfuse = get_client()

# Verify connection
if langfuse.auth_check():
    print("Langfuse client is authenticated and ready!")
else:
    print("Authentication failed. Please check your credentials and host.")
The Langfuse client is a singleton. It can be accessed anywhere in your application using the get_client() function.
Alternative: Configure via constructor
Optionally, you can initialize the client via Langfuse() to pass in configuration options (see below). Otherwise, it is created automatically when you call get_client() based on environment variables.
If you create multiple Langfuse instances with the same public_key, the singleton instance is reused and new arguments are ignored.
from langfuse import Langfuse

langfuse = Langfuse(
  public_key="your-public-key",
  secret_key="your-secret-key",
  base_url="https://cloud.langfuse.com", # 🇪🇺 EU region
  # base_url="https://us.cloud.langfuse.com", # 🇺🇸 US region
)
All key configuration options are listed in the Python SDK reference.
Use the SDK
With the SDK set up, you can:
- Instrument your application
- Use Langfuse Prompt Management
- Run Experiments and create Scores
- Query data
OpenTelemetry foundation
The Langfuse SDKs are built on top of OpenTelemetry. This provides:
- Standardization with the wider observability ecosystem and tooling.
- Robust context propagation so nested spans stay connected, even across async workloads.
- Attribute propagation to keep
userId,sessionId,metadata,version, andtagsaligned across observations. - Ecosystem interoperability meaning third-party instrumentations automatically appear inside Langfuse traces.
The following diagram shows how Langfuse maps to native OpenTelemetry concepts:
- OTel Trace: An OTel-trace represents the entire lifecycle of a request or transaction as it moves through your application and its services. A trace is typically a sequence of operations, like an LLM generating a response followed by a parsing step. The root (first) span created in a sequence defines the OTel trace. OTel traces do not have a start and end time, they are defined by the root span.
- OTel Span: A span represents a single unit of work or operation within a trace. Spans have a start and end time, a name, and can have attributes (key-value pairs of metadata). Spans can be nested to create a hierarchy, showing parent-child relationships between operations.
- Langfuse Trace: A Langfuse trace collects observations and holds trace attributes such as
session_id,user_idas well as overall input and outputs. It shares the same ID as the OTel trace and its attributes are set via specific OTel span attributes that are automatically propagated to the Langfuse trace. - Langfuse Observation: In Langfuse terminology, an “observation” is a Langfuse-specific representation of an OTel span. It can be a generic span (Langfuse-span), a specialized “generation” (Langfuse-generation), a point-in-time event (Langfuse-event), or other observation types.
- Langfuse Span: A Langfuse-span is a generic OTel span in Langfuse, designed for non-LLM operations.
- Langfuse Generation: A Langfuse-generation is a specialized type of OTel span in Langfuse, designed specifically for Large Language Model (LLM) calls. It includes additional fields like
model,model_parameters,usage_details(tokens), andcost_details. - Langfuse Event: A Langfuse-event tracks a point in time action.
- Other observation types: Langfuse supports other observation types such as tool calls, RAG retrieval steps, etc.
- Context Propagation: OpenTelemetry automatically handles the propagation of the current trace and span context. This means when you call another function (whether it’s also traced by Langfuse, an OTel-instrumented library, or a manually created span), the new span will automatically become a child of the currently active span, forming a correct trace hierarchy.
- Attribute Propagation: Certain trace attributes (
user_id,session_id,metadata,version,tags) can be automatically propagated to all child observations usingpropagate_attributes(). This ensures consistent attribute coverage across all observations in a trace. See the instrumentation docs for details.
The Langfuse SDKs provides wrappers around OTel spans (LangfuseSpan, LangfuseGeneration) that offer convenient methods for interacting with Langfuse-specific features like scoring and media handling, while still being native OTel spans under the hood. You can also use these wrapper objects to add Langfuse trace attributes via update_trace() or use propagate_attributes() for automatic propagation to all child observations.
Learn more
Other languages
Langfuse mantains SDKs for Python and JavaScript/TypeScript. For other languages, you can use our OpenTelemetry endpoint to instrument your application and use the public API to use Langfuse prompt management, evaluation and querying.
Instrumentation
To instrument your application, you can send OpenTelemetry spans to the Langfuse OTel endpoint. For this you can use the following OpenTelemetry SDKs:
- OpenTelemetry Java
- OpenTelemetry .NET
- OpenTelemetry Go
- OpenTelemetry C++
- OpenTelemetry Erlang/Elixir
- OpenTelemetry Ruby
- OpenTelemetry PHP
- OpenTelemetry Rust
- OpenTelemetry Swift
Prompt management, evaluation and querying:
To use other Langfuse features, you can use the public API integrate Langfuse from any runtime. We also provide a list of community maintained SDKs here.


