Cookbook: Langchain Integration (JS/TS)


This is a cookbook with examples of the Langfuse integration for Langchain (JS/TS).
Follow the integration guide to add this integration to your Langchain project.
Set Up Environment
Get your Langfuse API keys by signing up for Langfuse Cloud or self-hosting Langfuse. You’ll also need your OpenAI API key.
Note: This cookbook uses Deno.js for execution, which requires different syntax for importing packages and setting environment variables. For Node.js applications, the setup process is similar but uses standard
npmpackages andprocess.env.
// Langfuse authentication keys
Deno.env.set("LANGFUSE_PUBLIC_KEY", "pk-lf-***");
Deno.env.set("LANGFUSE_SECRET_KEY", "sk-lf-***");

// Langfuse host configuration
// For US data region, set this to "https://us.cloud.langfuse.com"
Deno.env.set("LANGFUSE_BASE_URL", "https://cloud.langfuse.com")

// Set environment variables using Deno-specific syntax
Deno.env.set("OPENAI_API_KEY", "sk-proj-***");
With the environment variables set, we can now initialize the langfuseSpanProcessor which is passed to the main OpenTelemetry SDK that orchestrates tracing.
// Import required dependencies
import 'npm:dotenv/config';
import { NodeSDK } from "npm:@opentelemetry/sdk-node";
import { LangfuseSpanProcessor } from "npm:@langfuse/otel";

// Export the processor to be able to flush it later
// This is important for ensuring all spans are sent to Langfuse
export const langfuseSpanProcessor = new LangfuseSpanProcessor({
    publicKey: process.env.LANGFUSE_PUBLIC_KEY!,
    secretKey: process.env.LANGFUSE_SECRET_KEY!,
    baseUrl: process.env.LANGFUSE_BASE_URL ?? 'https://cloud.langfuse.com', // Default to cloud if not specified
    environment: process.env.NODE_ENV ?? 'development', // Default to development if not specified
  });

// Initialize the OpenTelemetry SDK with our Langfuse processor
const sdk = new NodeSDK({
  spanProcessors: [langfuseSpanProcessor],
});

// Start the SDK to begin collecting telemetry
// The warning about crypto module is expected in Deno and doesn't affect basic tracing functionality. Media upload features will be disabled, but all core tracing works normally
sdk.start();
Step 2: Instantiate the CallbackHandler
Instantiate the CallbackHandler and pass it to your chain’s .invoke() or .stream() method in the callbacks array. All operations within the chain will be traced as nested observations.
import { CallbackHandler } from "npm:@langfuse/langchain";

const langfuseHandler = new CallbackHandler({
  sessionId: "user-session-123",
  userId: "user-abc",
  tags: ["langchain-test"],
});
Step 3: Langchain Example
We create a simple agent that can answer questions and call tools. The agent will use OpenAI GPT-5-mini as its language model, a basic weather function as a tool, and a simple prompt to guide its behavior. All tools and model calls are traced in Langfuse.
import { createAgent, tool } from "npm:langchain";
import * as z from "npm:zod";

const getWeather = tool(
  (input) => `It's always sunny in ${input.city}!`,
  {
    name: "get_weather",
    description: "Get the weather for a given city",
    schema: z.object({
      city: z.string().describe("The city to get the weather for"),
    }),
  }
);

const agent = createAgent({
  model: "openai:gpt-5-mini",
  tools: [getWeather],
});console.log(
await agent.invoke(
{ messages: [{ role: "user", content: "What's the weather in San Francisco?" }] },
{ callbacks: [langfuseHandler] }
)
);Step 4: Explore the trace in Langfuse
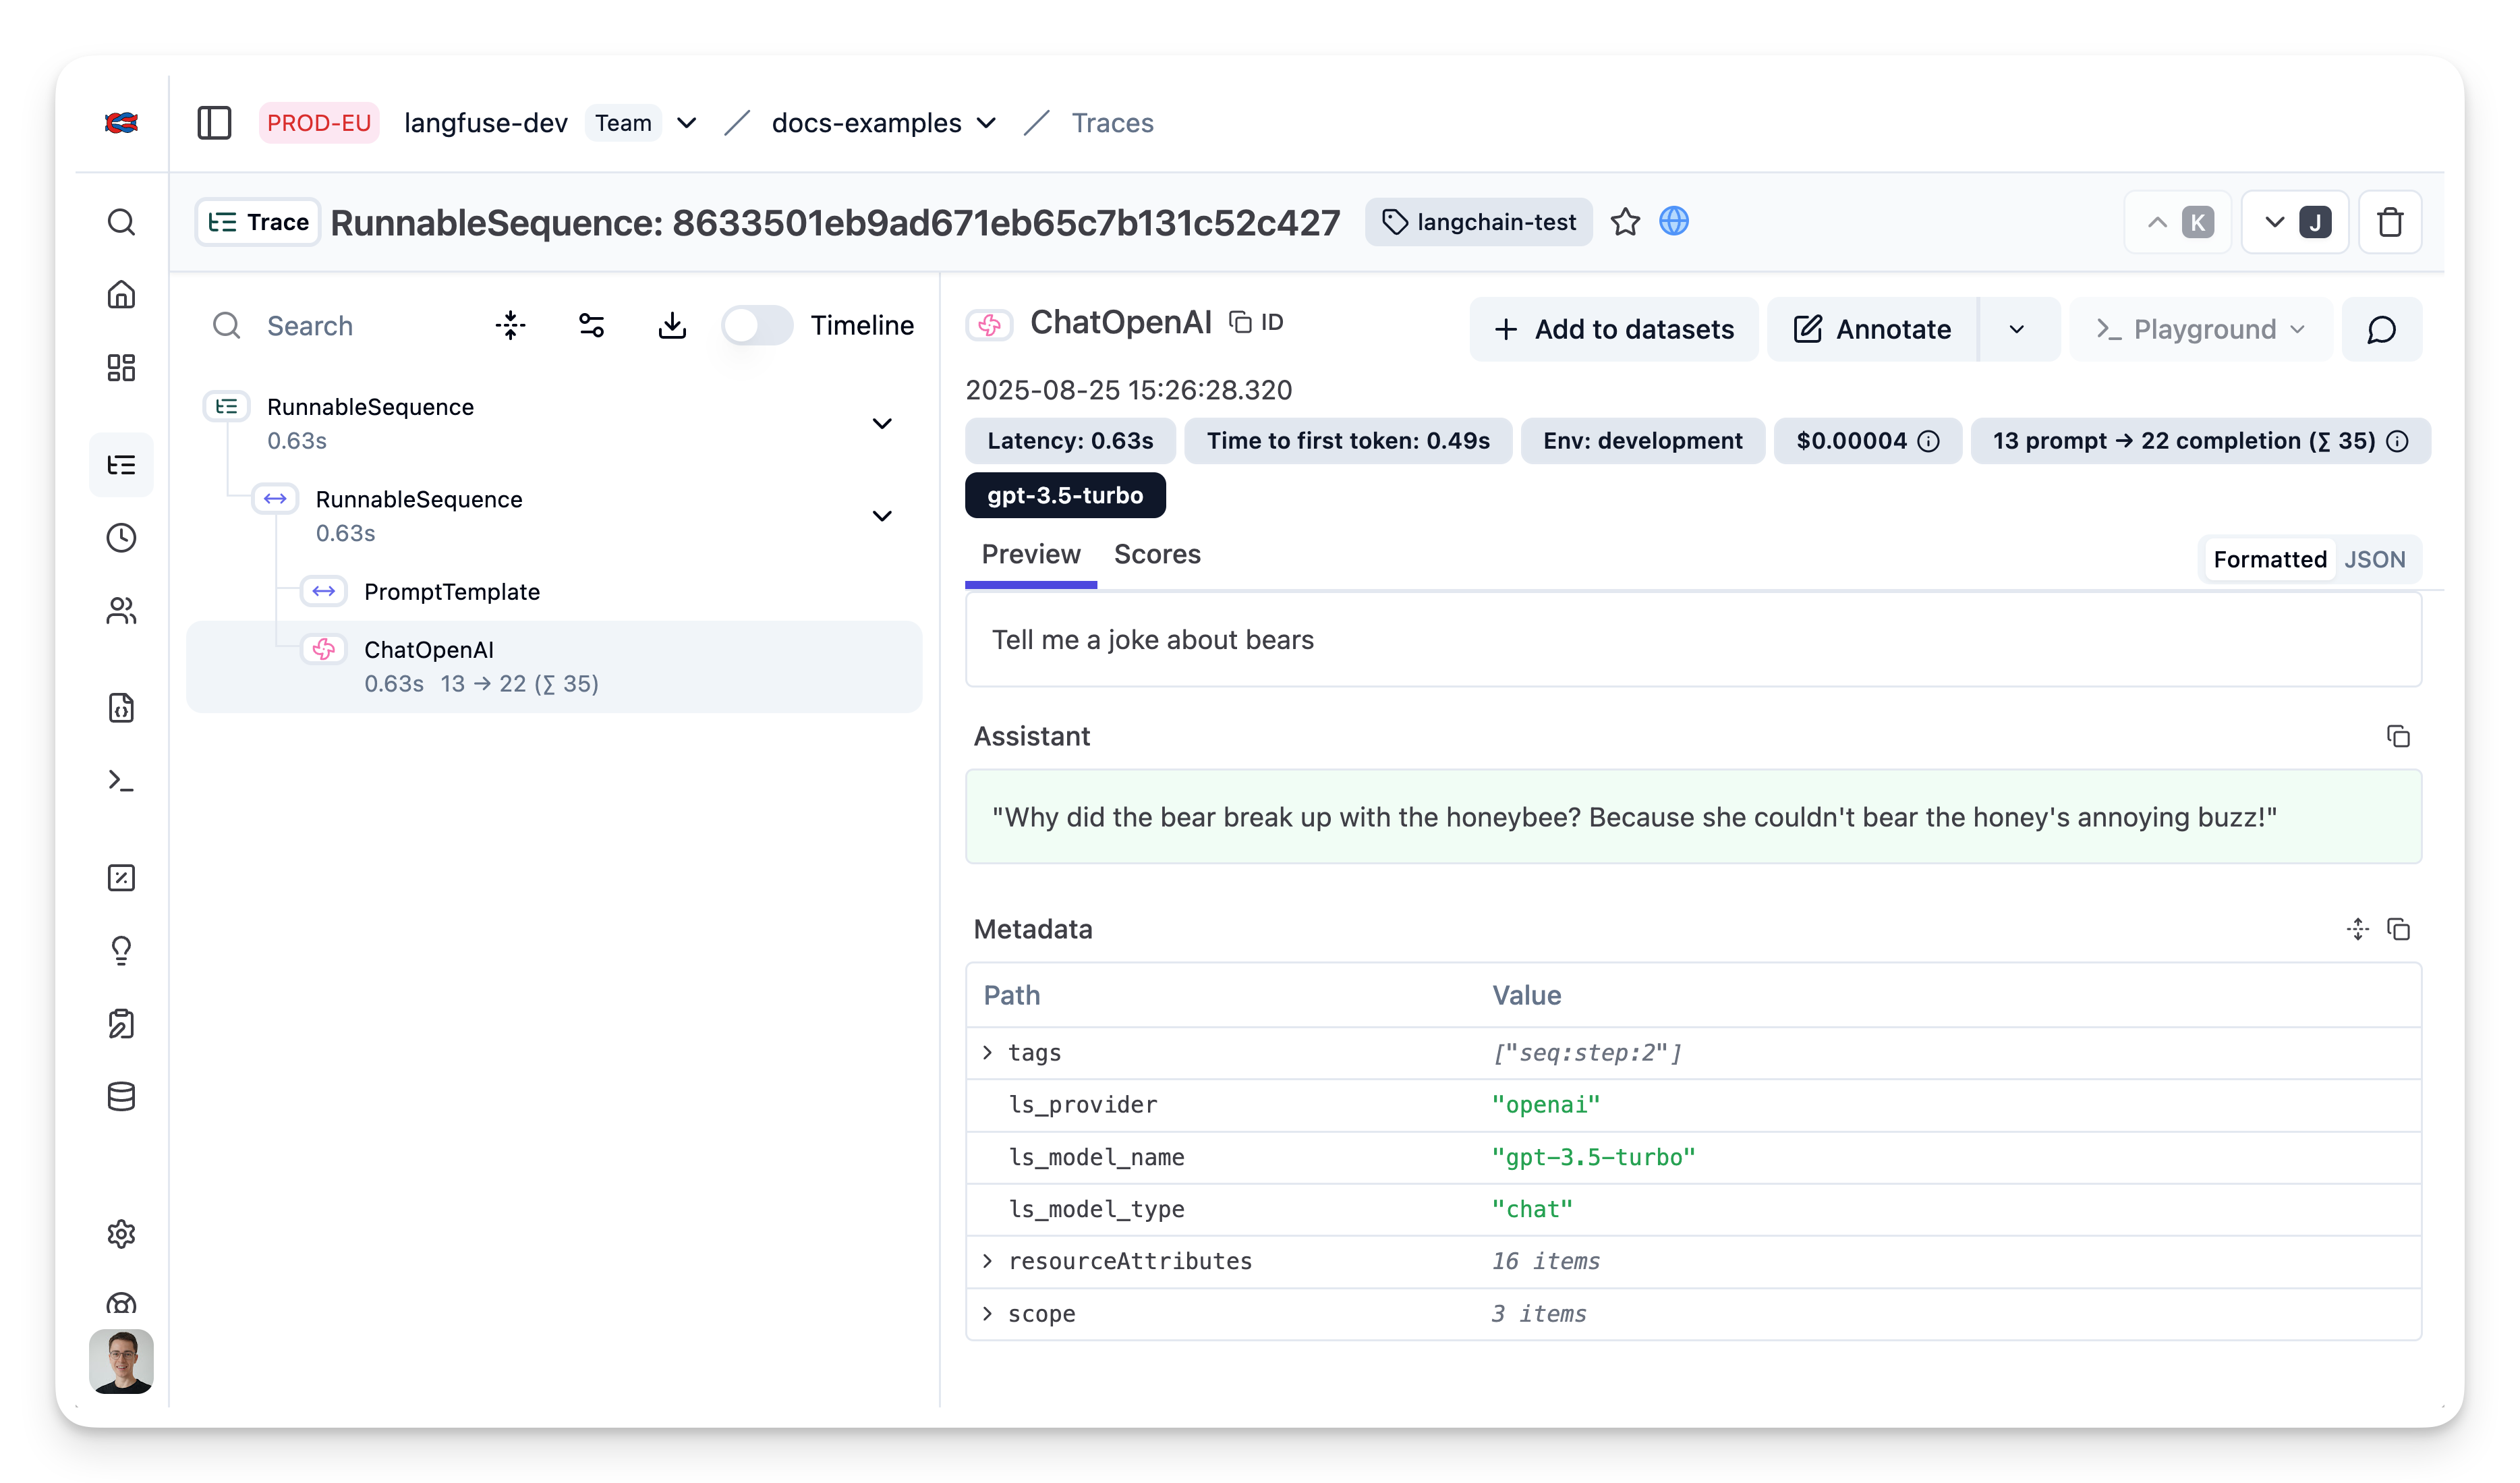
In the Langfuse interface, you can see a detailed trace of all steps in the Langchain application.
