DSPy - Observability & Tracing
This cookbook demonstrates how to use DSPy with Langfuse.
What is DSPy? DSPy is a framework that systematically optimizes language model prompts and weights, making it easier to build and refine complex systems with LMs by automating the tuning process and improving reliability. For further information on DSPy, please visit the documentation.
What is Langfuse? Langfuse is an open-source LLM engineering platform. It offers tracing and monitoring capabilities for AI applications. Langfuse helps developers debug, analyze, and optimize their AI systems by providing detailed insights and integrating with a wide array of tools and frameworks through native integrations, OpenTelemetry, and dedicated SDKs.
Prerequisites
Install the latest versions of DSPy and langfuse.
%pip install langfuse dspy openinference-instrumentation-dspy -UStep 1: Setup Langfuse Environment Variables
First, we configure the environment variables. We set the OpenTelemetry endpoint, protocol, and authorization headers so that the traces from DSPy are correctly sent to Langfuse. You can get your Langfuse API keys by signing up for Langfuse Cloud or self-hosting Langfuse.
import os

# Get keys for your project from the project settings page: https://cloud.langfuse.com
os.environ["LANGFUSE_PUBLIC_KEY"] = "pk-lf-..."
os.environ["LANGFUSE_SECRET_KEY"] = "sk-lf-..."
os.environ["LANGFUSE_BASE_URL"] = "https://cloud.langfuse.com" # 🇪🇺 EU region
# os.environ["LANGFUSE_BASE_URL"] = "https://us.cloud.langfuse.com" # 🇺🇸 US region

# Your OpenAI key
os.environ["OPENAI_API_KEY"] = "sk-proj-..."
With the environment variables set, we can now initialize the Langfuse client. get_client() initializes the Langfuse client using the credentials provided in the environment variables.
from langfuse import get_client

langfuse = get_client()

# Verify connection
if langfuse.auth_check():
    print("Langfuse client is authenticated and ready!")
else:
    print("Authentication failed. Please check your credentials and host.")
Step 2: Enable Tracing for DSPy
Next, we use the OpenInference Instrumentation module for DSPy to automatically capture your DSPy traces. This is done by a single call which instruments DSPy’s LM calls.
from openinference.instrumentation.dspy import DSPyInstrumentor

DSPyInstrumentor().instrument()
Step 3: Configure DSPy
Next, we set up DSPy. This involves initializing a language model and configuring DSPy to use it. You can then run various DSPy modules that showcase its features.
import dspy
lm = dspy.LM('openai/gpt-4o-mini')
dspy.configure(lm=lm)
Step 4: Running DSPy Modules with Observability
Here are a few examples from the DSPy documentation showing core features. Each example automatically sends trace data to Langfuse.
Example 1: Using the Chain-of-Thought Module (Math Reasoning)
math = dspy.ChainOfThought("question -> answer: float")
math(question="Two dice are tossed. What is the probability that the sum equals two?")
Example 2: Building a RAG Pipeline
def search_wikipedia(query: str) -> list[str]:
    results = dspy.ColBERTv2(url='http://20.102.90.50:2017/wiki17_abstracts')(query, k=3)
    return [x['text'] for x in results]

rag = dspy.ChainOfThought('context, question -> response')

question = "What's the name of the castle that David Gregory inherited?"
rag(context=search_wikipedia(question), question=question)
Example 3: Running a Classification Module with DSPy Signatures
def evaluate_math(expression: str):
    return dspy.PythonInterpreter({}).execute(expression)

def search_wikipedia(query: str):
    results = dspy.ColBERTv2(url='http://20.102.90.50:2017/wiki17_abstracts')(query, k=3)
    return [x['text'] for x in results]

react = dspy.ReAct("question -> answer: float", tools=[evaluate_math, search_wikipedia])

pred = react(question="What is 9362158 divided by the year of birth of David Gregory of Kinnairdy castle?")
print(pred.answer)
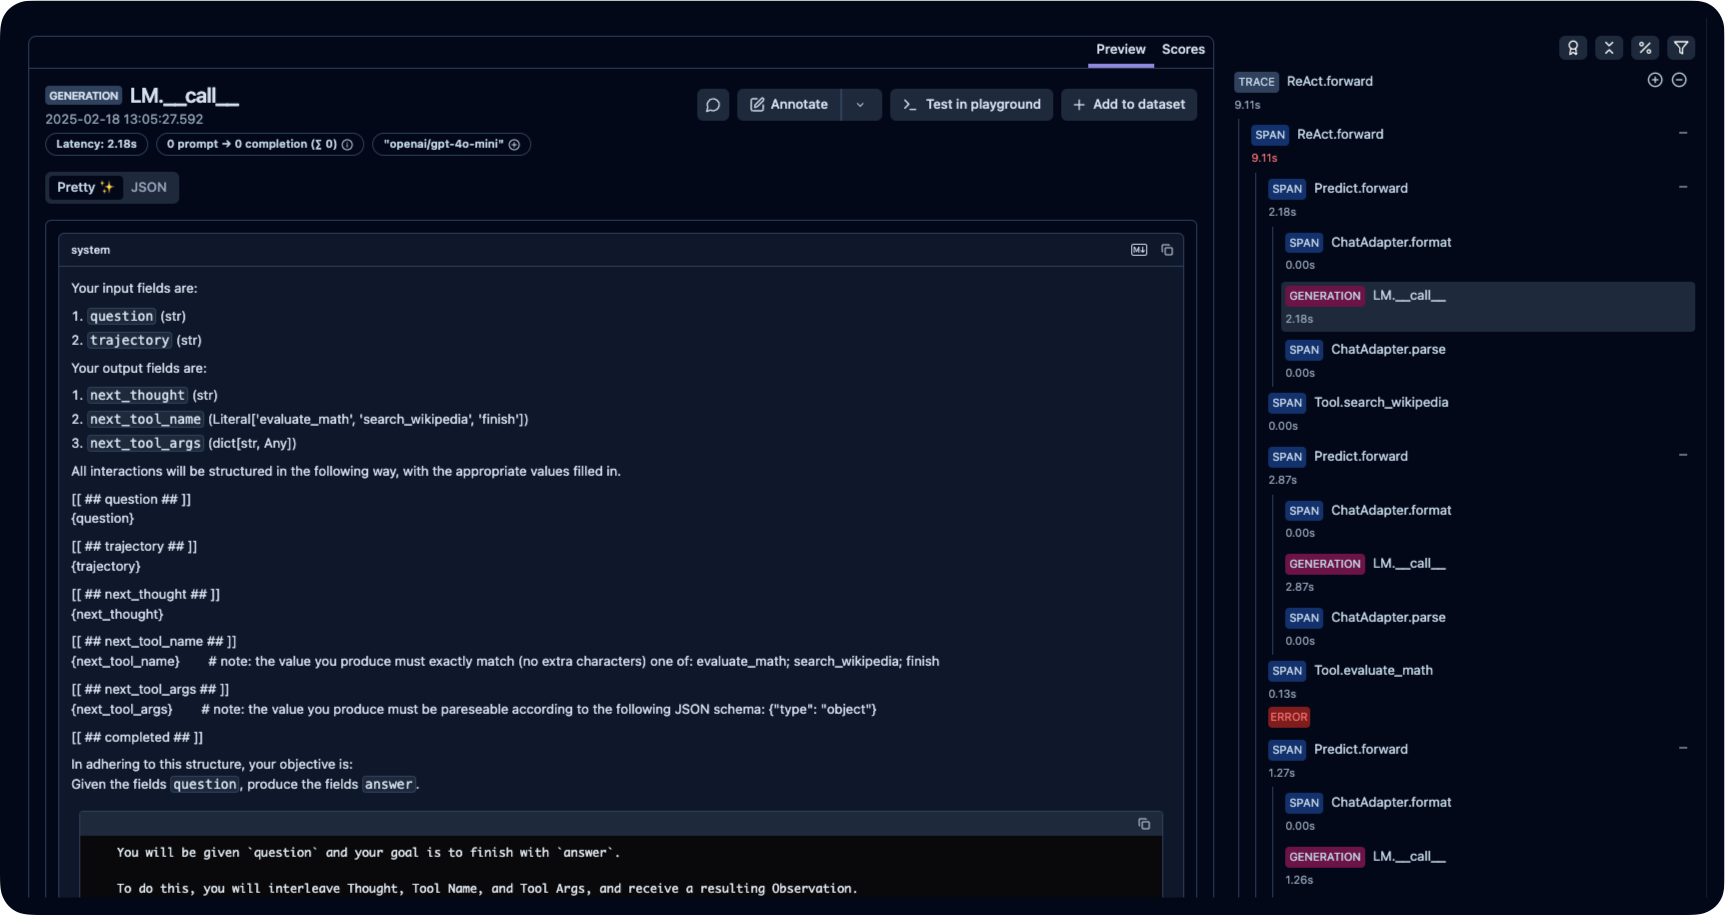
Step 5: Viewing Traces in Langfuse
After running your DSPy application, you can inspect the traced events in Langfuse:

Interoperability with the Python SDK
You can use this integration together with the Langfuse SDKs to add additional attributes to the trace.
The @observe() decorator provides a convenient way to automatically wrap your instrumented code and add additional attributes to the trace.
from langfuse import observe, propagate_attributes, get_client

langfuse = get_client()

@observe()
def my_llm_pipeline(input):
    # Add additional attributes (user_id, session_id, metadata, version, tags) to all spans created within this execution scope
    with propagate_attributes(
        user_id="user_123",
        session_id="session_abc",
        tags=["agent", "my-trace"],
        metadata={"email": "user@langfuse.com"},
        version="1.0.0"
    ):

        # YOUR APPLICATION CODE HERE
        result = call_llm(input)

        # Update the trace input and output
        langfuse.update_current_trace(
            input=input,
            output=result,
        )

        return result
Learn more about using the Decorator in the Langfuse SDK instrumentation docs.
Next Steps
Once you have instrumented your code, you can manage, evaluate and debug your application: